My MPA Journey...
Step 1 — Terminal "Hello" (Go only)
sibert@mini main % go build
sibert@mini main % ./main
Hello, Gopher <-- Success message!
This terminal "hello" involves creating a 5 lines of Go code that prints "Hello, Gopher!" to the terminal. The first step is to start with a simple Go application that runs in the terminal.
Ensure that you have Go and VS Code installed and configured on your local computer.
1. Folder structure
go/hello1
This is a terminal only hello Gopher.
Create "go" and "hello" folders and open "hello" in VS Code.
Add folders and files as shown inside VS Code:

└── go               <-- Go folder/
  └── hello1         <-- app folder/
    └── main         <-- main folder/
        ├── go.mod.  <-- dependencies go mod init
        ├── main     <-- the executable (created after go build)
        └── main.go  <-- go code
2. Create go.mod and tidy up
Open the built in terminal in VS Code and fire these commands. The file go.mod is created by a command and contains the dependencies. Sometimes is the go.sum also created.
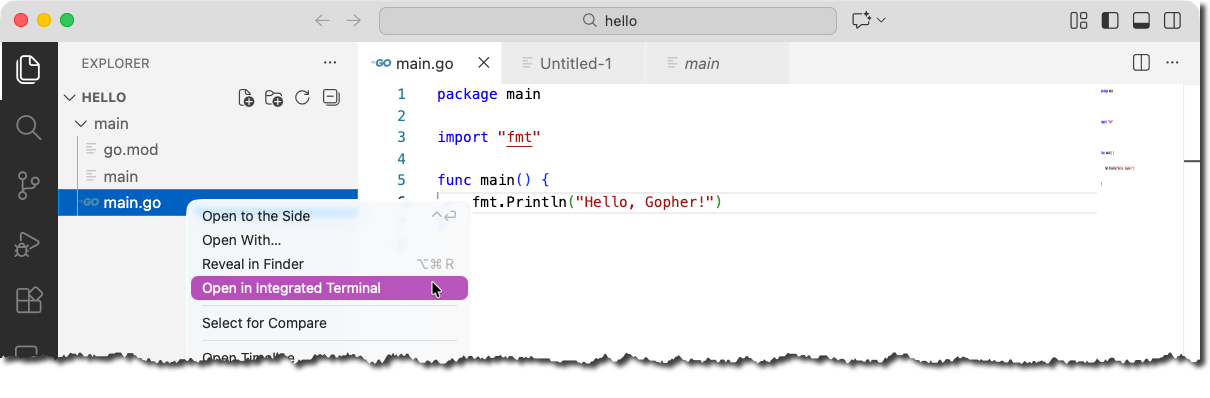
Run these commands in the built in terminal inside VS Code:

sibert@mini main % go mod init go4webdev.org/main
go: creating new go.mod: module go4webdev.org/main
go: to add module requirements and sums:
go mod tidy
sibert@mini main % go mod tidy
3. Create Go code and run!
Create Go executable
This code only produce a "Hello Gopher" in VS Code Terminal. Nothing else.
package main

import "fmt"

func main() {
	fmt.Println("Hello, Gopher!!")
}
sibert@mini main % go build
sibert@mini main % ./main
Hello, Gopher <-- Success message!
Step 2 is to create a Go server and add assets and run it in the local browser.